May.21.2024
Color Creation: The Development Process
Color Creation: The Development Process
At Image Model, our color development team can assist in creating a diverse range of shades and colors. Whether it's matching to a standard color chip, creating customized colors, or precise color matching of samples for model applications or personal color development references, we' ve got it all covered. We also have access to various color standard references in-house, such as Pantone, NCS, RAL, Coloro, Akzo Nobel Sikkens, DuPont, PPG, AIC, and more, allowing for more efficient communication and collaboration.
In this newsletter, we'll illustrate our process for developing a traditional paint color (solid non-metallic) to match an anodized color target (metallic) for application on plastic parts. The entire color development process typically takes 3 to 5 business days for each round of development, though timelines may vary based on any special requests.
Target: Matching to the anodized color target
The color chip shown above represents the anodized color target that we will create a traditional paint color (solid non-metallic) to match.
Step 1: Finding similar matches to the target color
When our customer provides an anodized color target and requests a custom traditional color to match it, whether, for application onto a model or color chip for personal color development reference, our process begins by identifying several close matches from the Pantone color chart. These options are presented to our customers via photographs, allowing them to choose the closest match as a reference. Subsequently, we will create a color chip sample based on the anodized color target, with the selected Pantone color(s) serving as the baseline reference.
Step 2: Developing and fine-tuning the custom color
Our color development team will start by blending different colorants based on the Pantone color(s) baseline references chosen by our customer and then create 2 to 3 variants while documenting the formula ratios and the pigment weights for each. By utilizing this method, we can efficiently fine-tune the colors by adjusting pigment weights, enabling quick matching to target colors, swiftly replicating colors to streamline paint batch adjustments, and conveniently storing these formulas in our database for future reference. Once the color is confirmed, our team will produce the necessary amount of paint for the request based on the established formula.
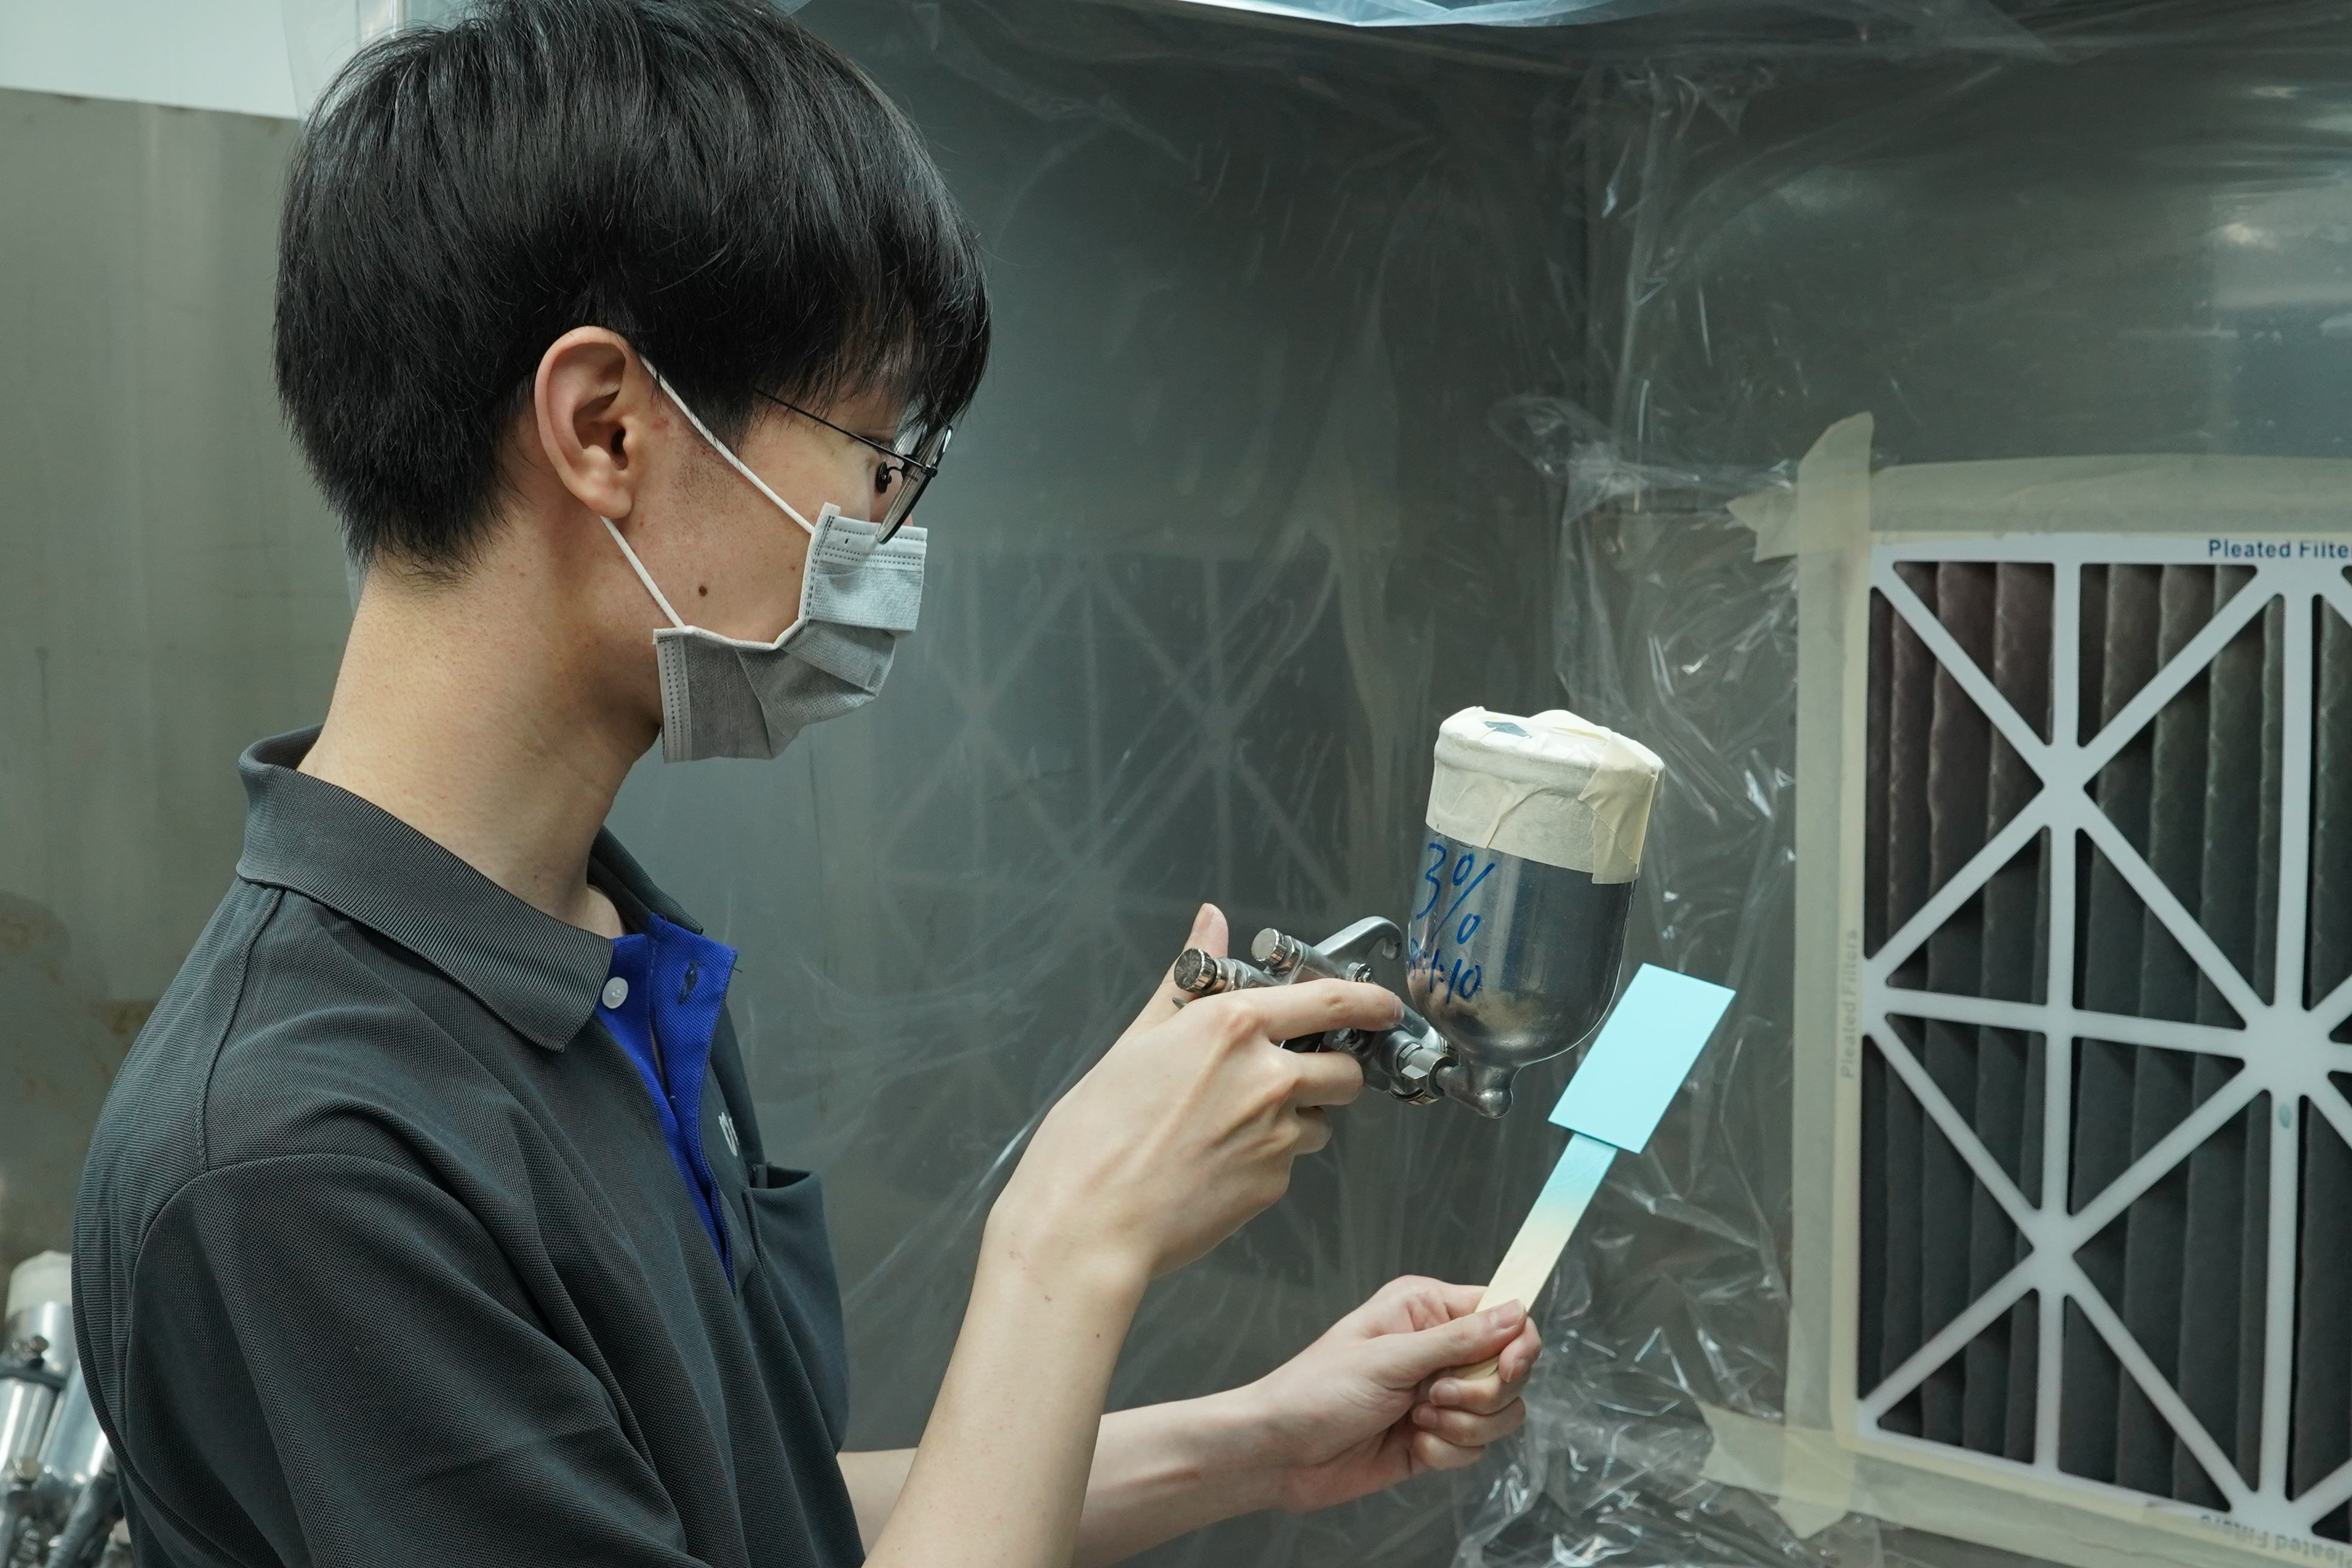
Step 3: Color matching evaluation and verification
The mixed paint will initially be test-sprayed onto preliminary color chips. These chips will then be compared to the confirmed Pantone color reference(s) from Step 1 using our color-matching lightbox (D65 lighting) to ensure the variants are tone-on-tone or according to our customer's specifications. If there are any discrepancies, the formula will be adjusted accordingly.
Step 4: Applying the final paint color + finish on the chip
After confirming the accuracy of the color-matched paint, our team will apply it to a formal color chip. The formal chip can be our standard chip or a custom one with the size and geometry defined by our customer. Per our customer's request, we will apply the specified gloss or matte finish to this formal color chip to ensure comprehensive color matching. This formal color chip will be used later for color comparison with the anodized color target.
Step 5: Photos/Videos for official color matching review
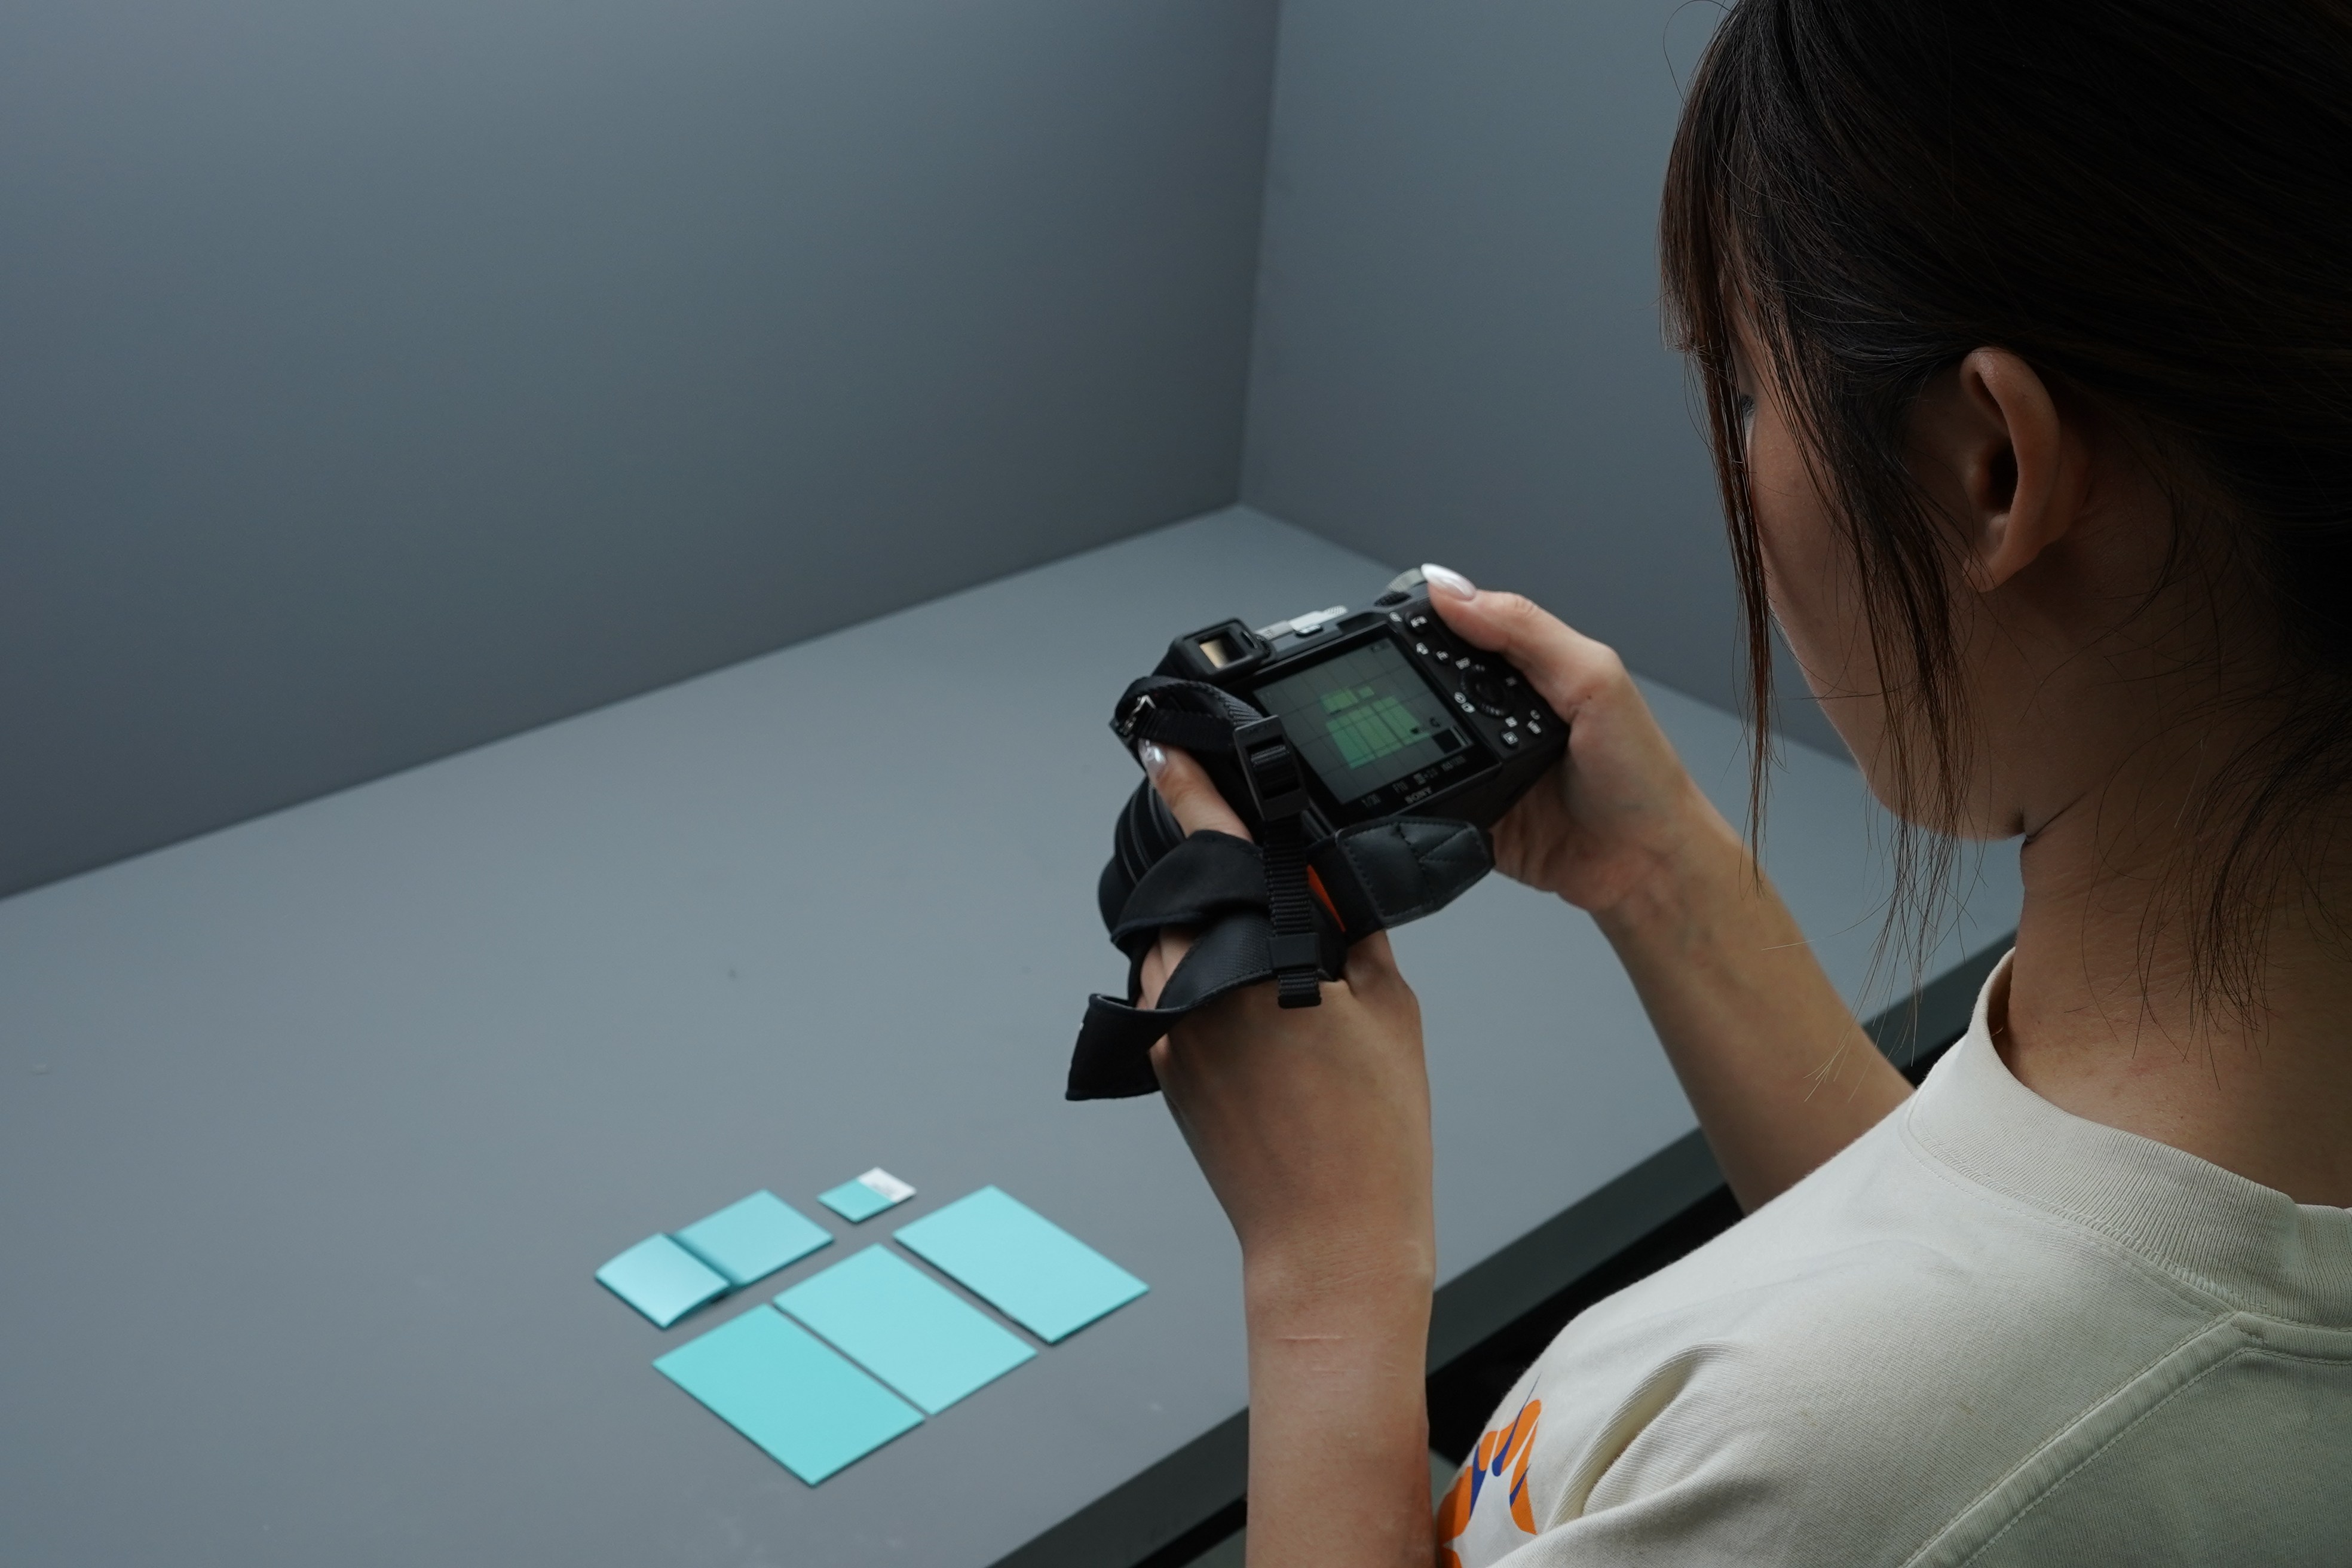
Our team will photograph the formulated painted color chip next to the anodized color target for our customer to confirm. If preferred and feasible within the project schedule, we can also send the color chip to our customer for an in-person review.
This completes our color development process for this given scenario. As mentioned, we can create custom colors, whether for application on a model or for personal color development reference. If there are any special requests, we are more than happy to work with you to bring the color(s) you envision to life.